From bike to e-bike: Turn Your Regular Bike into a Powerful High-Performance E-Bike

From Bike to E-Bike: Transform Your Regular Bike into an Ultimate High-Performance E-Bike
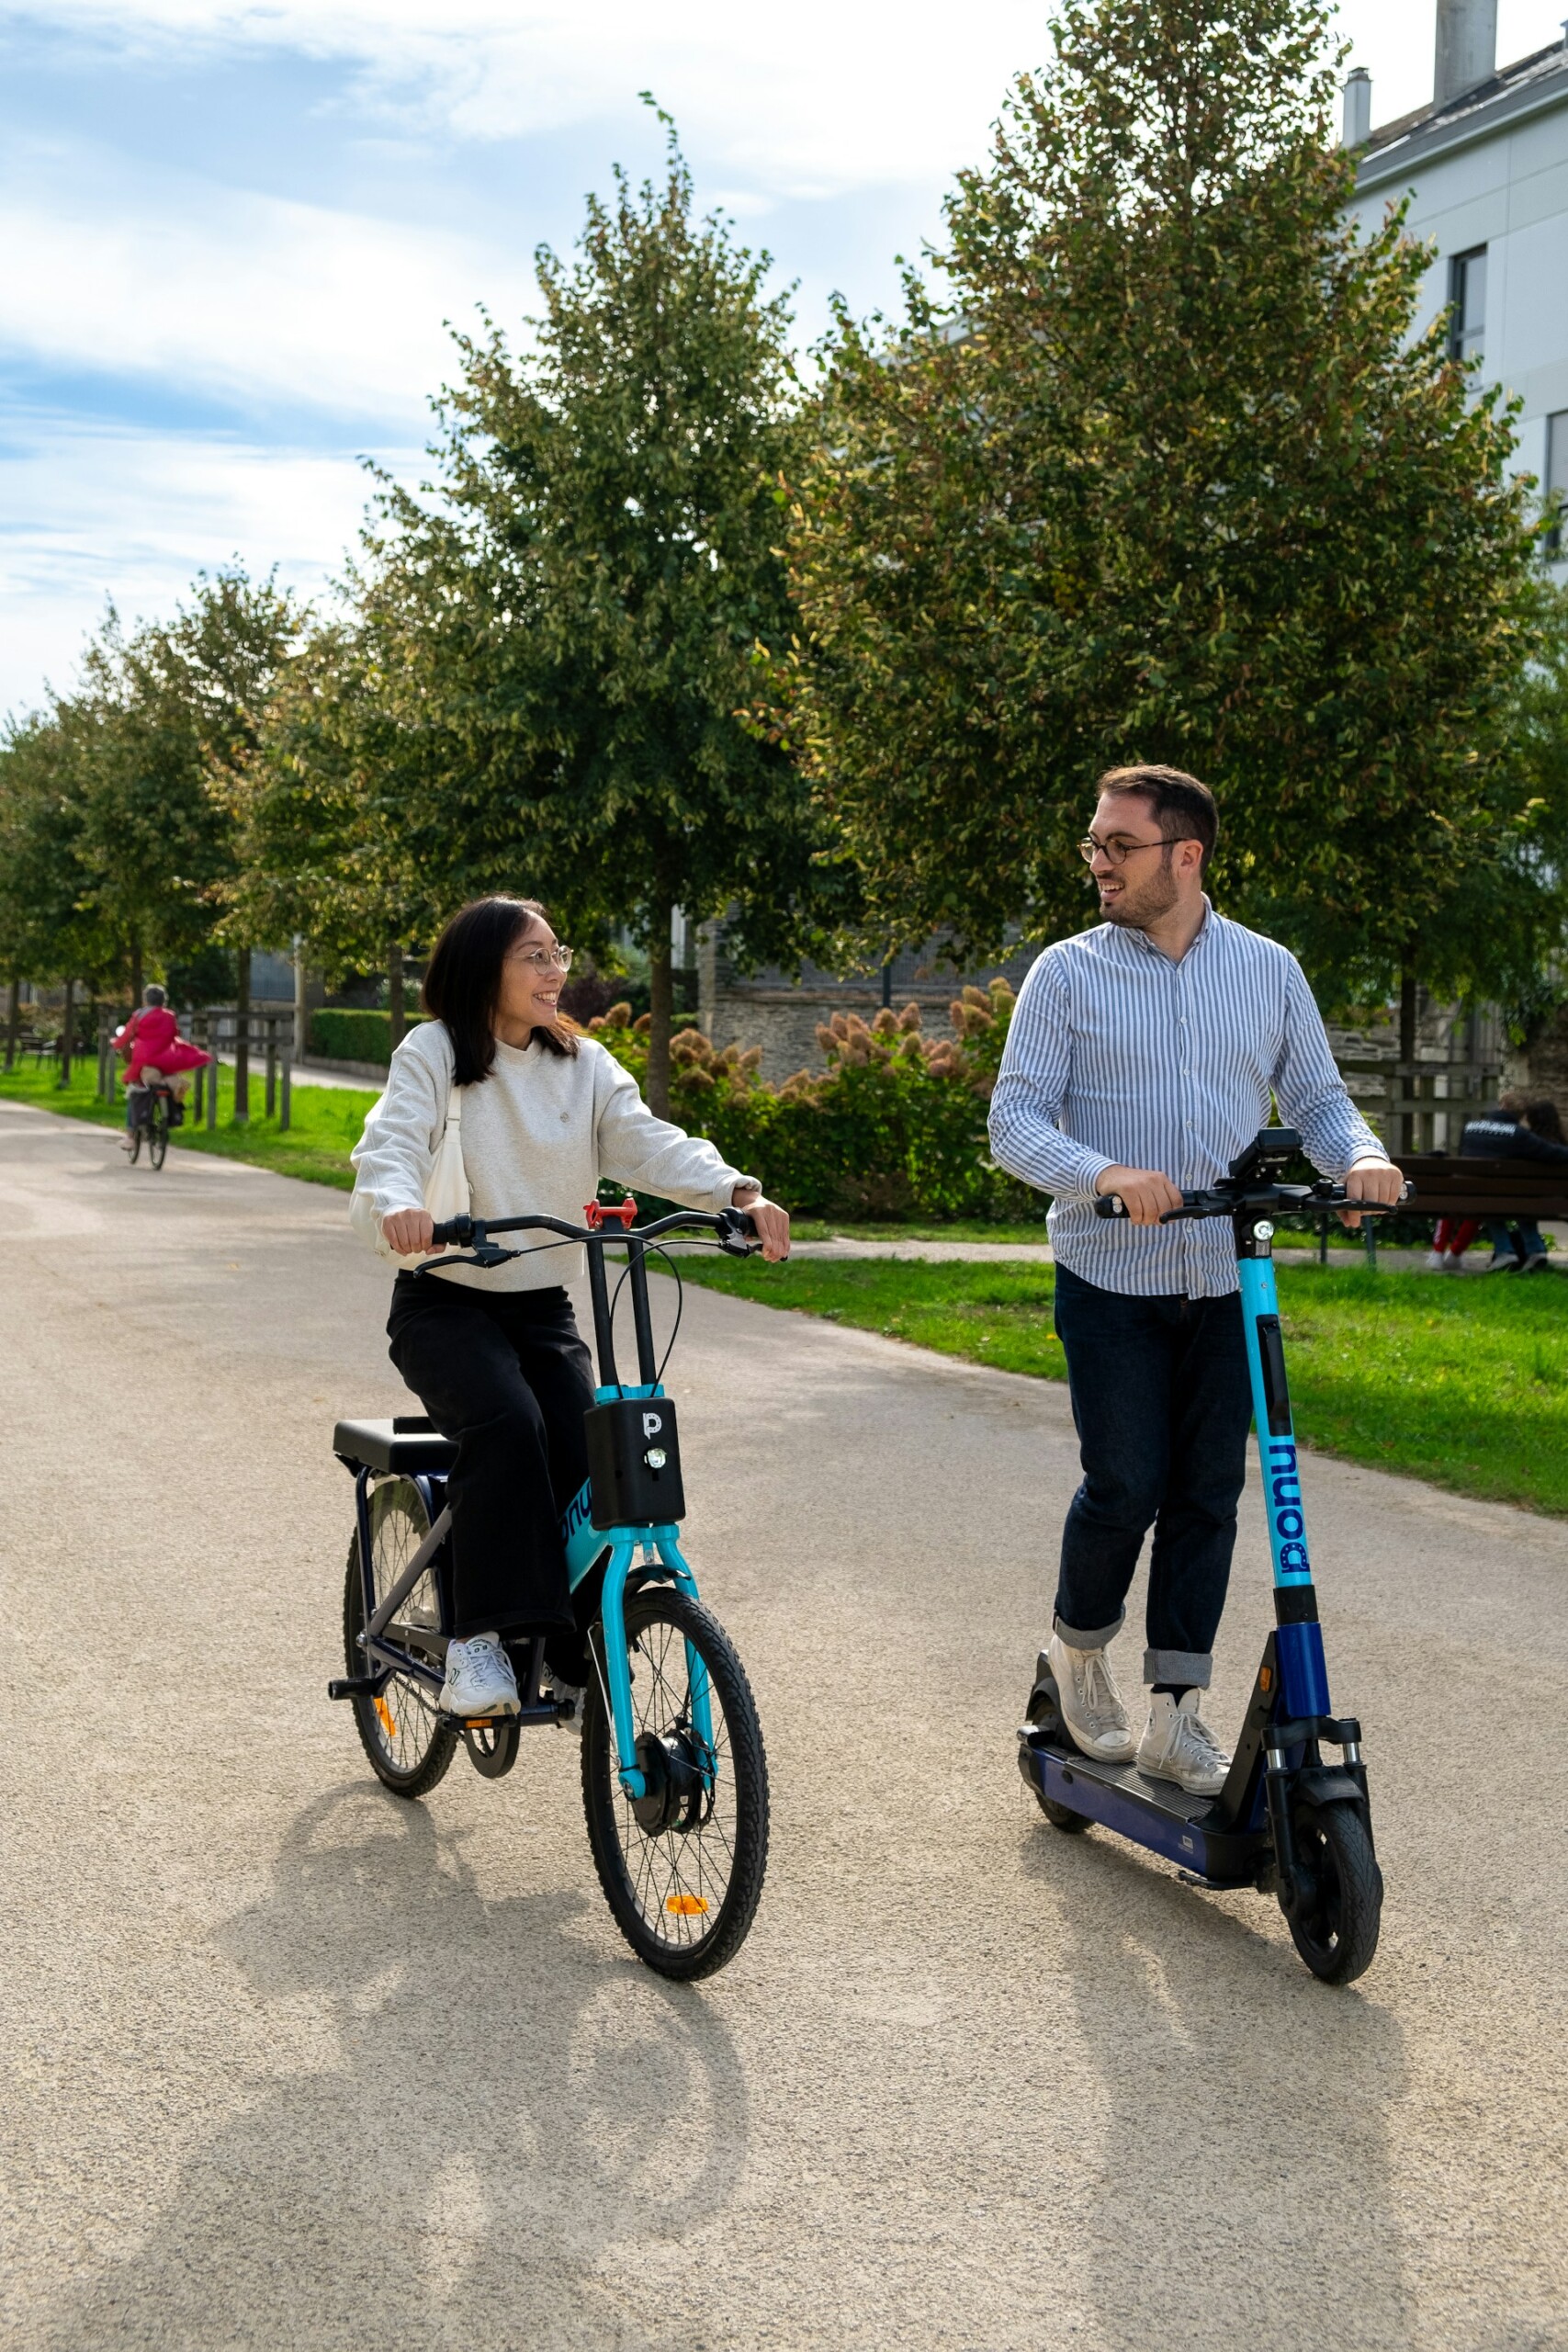
The phrase “From bike to e-bike” represents more than just a technical upgrade — it’s a modern revolution in personal mobility. It’s about taking the bike you already love and giving it new life with the power of electricity. By converting your regular bicycle into an e-bike, you open the door to a whole new riding experience: faster commutes, longer weekend adventures, and the pure joy of gliding effortlessly up steep hills.
Making the transition from bike to e-bike is one of the smartest ways to join the clean transportation movement without replacing your current gear. Instead of buying a new model, you can install an electric conversion kit — saving both money and materials while reducing your carbon footprint. It’s an eco-friendly and empowering project that puts technology directly in your hands.
The beauty of going from bike to e-bike lies in its simplicity. With just a motor wheel, a compatible battery, and a few hours of hands-on setup, your ordinary bicycle becomes a high-performance electric machine capable of 25–60 miles of assisted riding. Whether you’re a commuter, a weekend explorer, or someone looking for a greener way to travel, this transformation delivers both excitement and efficiency.
If you’ve ever wondered how electric bikes work, start by understanding their core: a battery that stores energy, a motor that converts it into motion, and a controller that regulates power delivery. Together, they turn human effort into electric-assisted motion — the heart of the from bike to e-bike experience. Learn more about how electric bicycles work and explore practical conversion guides on eBikeSchool.com to prepare for your first DIY upgrade.
By the end of this guide, you’ll know exactly how to make the shift from bike to e-bike safely, efficiently, and affordably — transforming not just your ride, but the way you move through the world.
Read More!
🧰 Step 1: Choose Your Conversion Kit Type
When beginning your journey from bike to e-bike, the most crucial decision is selecting the right conversion kit. The kit determines not only how your e-bike performs, but also how natural the ride feels once the motor is installed. The motor is the powerhouse that transforms your ordinary pedaling experience into smooth, assisted motion — bridging the gap between a regular bike and a true electric companion.
- Front Hub Motor: The simplest way to go from bike to e-bike. You just replace your front wheel, connect the controller, and you’re ready to ride. It provides balanced handling and is perfect for city commuting or flat terrain where ease of installation matters most.
- Rear Hub Motor: A strong choice for riders who need traction and power. It’s an excellent way to experience the transition from bike to e-bike with more torque and acceleration, making uphill rides easier and more enjoyable.
- Mid-Drive Motor: The premium route in the journey from bike to e-bike. It drives the crank directly, giving you optimal torque distribution, a natural pedaling feel, and maximum energy efficiency. This option suits serious cyclists and long-distance riders who want professional-grade performance.
Each conversion type represents a different path in the evolution from bike to e-bike. Beginners often start with a hub motor because it’s affordable, versatile, and compatible with most standard bikes. Advanced users or off-road enthusiasts might prefer the precision and control of a mid-drive motor.
If you’re looking for high-quality systems that make the transition from bike to e-bike smooth and reliable, check out
Bosch eBike Systems or
Bafang Electric — both leaders in electric drive technology trusted worldwide.
🔋 Step 2: Pick the Right Battery
When making the transformation from bike to e-bike, the battery is truly the heart of your new electric system. It determines how far you can go, how powerful your assist will be, and how reliable your ride feels day after day. In the journey from bike to e-bike, choosing the right battery isn’t just a technical choice — it’s what defines your entire riding experience.
A well-matched battery gives your converted e-bike both endurance and strength. Whether you ride to work, explore trails, or simply enjoy weekend cruises, the right energy source ensures you’re never left pedaling home with an empty pack. Here are the key factors to understand before selecting your battery:
- Voltage (V): For most riders going from bike to e-bike, 36V or 48V systems are ideal. A higher voltage means more torque, stronger hill-climbing power, and quicker acceleration — perfect for riders who crave performance.
- Capacity (Ah): The amp-hour rating measures how long your battery will last per charge. In the from bike to e-bike transition, a 10–20Ah battery generally provides 25–60 miles of range, depending on terrain, weight, and motor efficiency.
- Type: Lithium-ion batteries are the gold standard for modern e-bikes. Lightweight, durable, and efficient, they’ve made the from bike to e-bike movement possible by offering fast charging (3–6 hours) and long lifespans.
- Mount: Placement matters. Choose between a downtube, rear rack, or saddle mount depending on your bike’s design and how you want to balance weight. A well-placed battery ensures a stable and natural feel after conversion.
Safety should never be overlooked in the process from bike to e-bike. Always choose a reputable supplier and make sure your battery includes a built-in Battery Management System (BMS) to prevent overcharging, overheating, and voltage imbalance.
To explore reliable and high-performance battery options for your conversion, visit
Samsung SDI or
LG Energy Solution — two global leaders in lithium-ion technology trusted by top e-bike brands.
🛠️ Step 3: Tools & Installation
When moving from bike to e-bike, installation is the exciting hands-on phase where your project truly comes to life. Most modern conversion kits are designed to be plug-and-play, meaning you don’t have to be a professional mechanic to succeed. With a few basic tools and some patience, you can turn your regular bicycle into a fully functional electric machine in just a few hours.
Understanding the installation process is essential to make your transition from bike to e-bike smooth and safe. The goal is to keep the build clean, secure, and well-balanced, ensuring your upgraded ride feels as natural and responsive as your original bike — only faster and more powerful.
- Tools Needed: For your from bike to e-bike setup, prepare a reliable toolkit: Allen keys, wrench set, screwdrivers, zip ties, cable cutters, and optionally a torque wrench for tightening critical bolts. A bike stand can also help make installation easier.
- Time Estimate: Expect 2–4 hours to go from bike to e-bike, depending on your kit type and experience. Hub-motor kits are faster to install, while mid-drive systems may require removing the crankset and adjusting the chainline.
- Installation Steps:
- Remove your old wheel and replace it with the motorized hub or mid-drive unit.
- Securely mount the battery to the downtube, rear rack, or frame mount.
- Connect the controller, throttle, and display, following your kit’s wiring diagram.
- Use zip ties to organize cables neatly along the frame for a professional look.
- Test the system before your first full ride to confirm proper motor and throttle response.
When transitioning from bike to e-bike, neat cable routing isn’t just about appearance — it’s about reliability. Keeping wires tight and dry reduces friction, prevents wear, and protects against water or dust damage. A clean setup also makes maintenance easier later on.
If you want expert guidance while installing your kit, resources like
Grin Technologies’ e-bike tools guide or
Bike Is Best tutorials offer step-by-step visuals and advice for anyone going from bike to e-bike.
⚙️ Extra Components & Upgrades
Once you’ve made the initial leap from bike to e-bike, the next step is fine-tuning your setup with the right components and upgrades. These additions not only enhance performance and safety but also personalize your electric ride to match your style and riding habits. Moving from bike to e-bike isn’t just about adding a motor — it’s about creating a smooth, intelligent system where every part communicates efficiently.
Modern e-bike conversion kits often include several optional add-ons designed to improve control, comfort, and functionality. Understanding how these components work together helps you get the most out of your from bike to e-bike transformation.
- Controller: The controller acts as the brain of your from bike to e-bike system, regulating the power flow between the battery and motor. A high-quality controller ensures smooth acceleration, stable performance, and better energy efficiency.
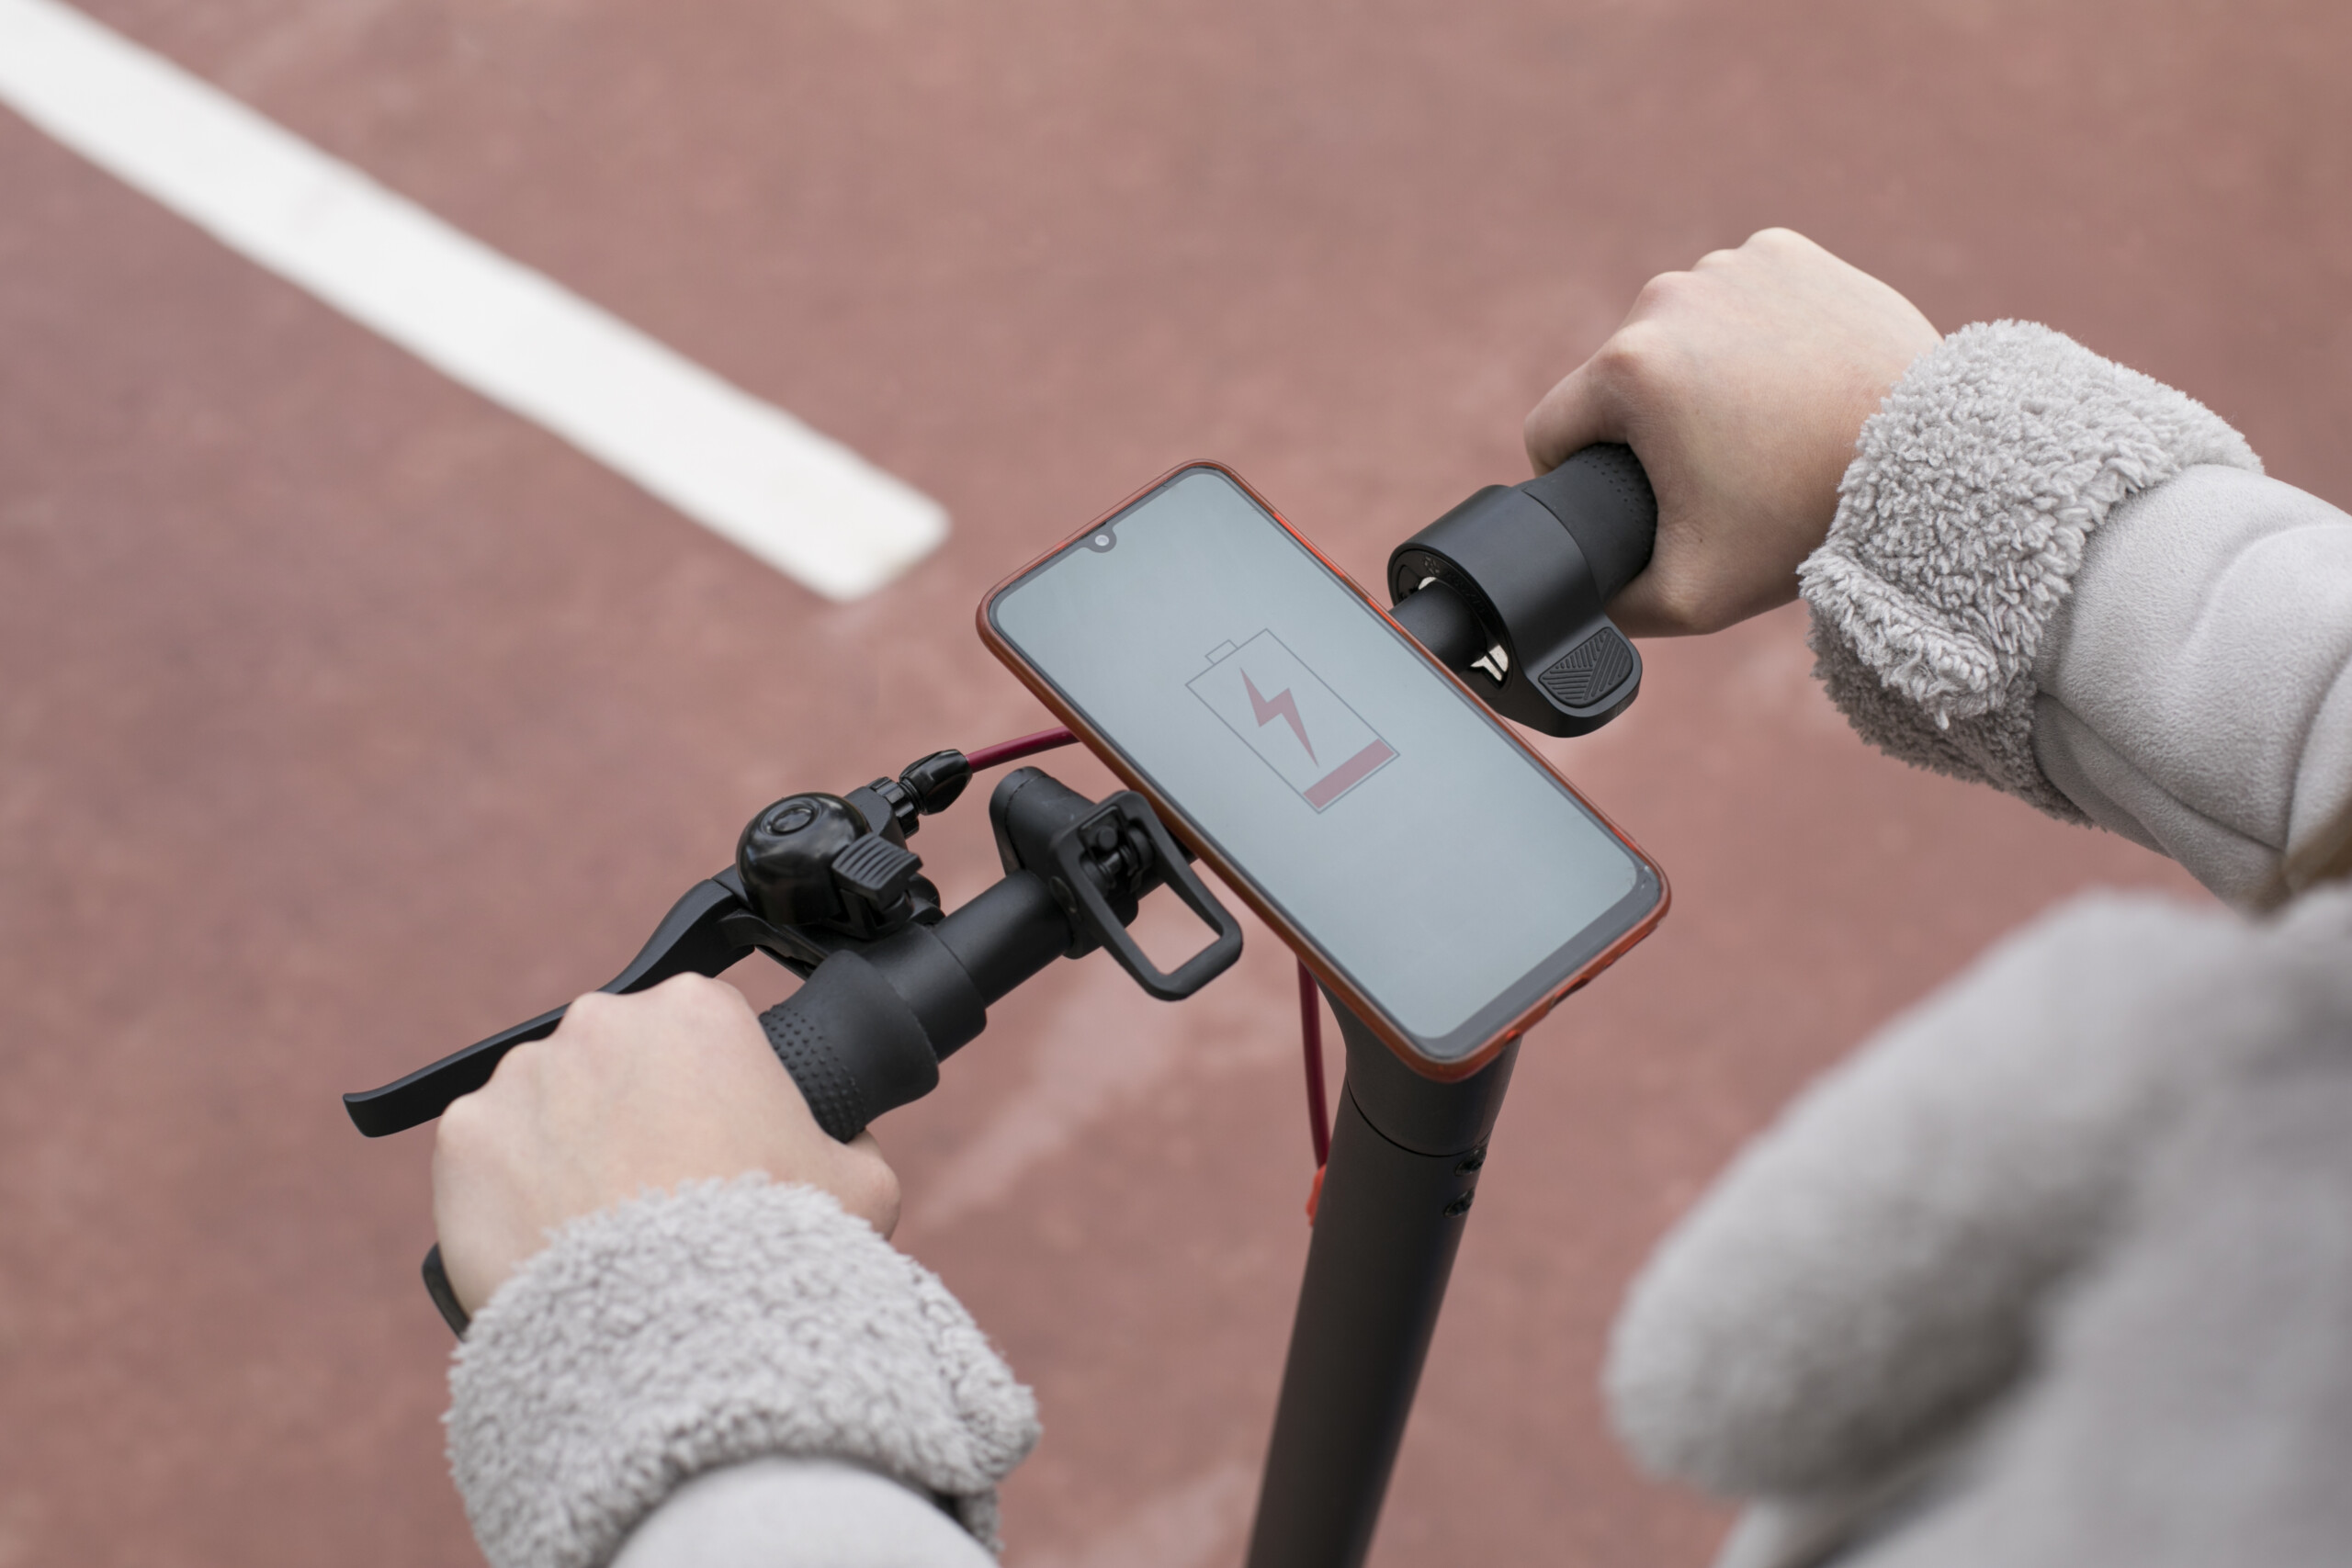
- Display: A digital display connects you to your e-bike in real time. It shows essential information like speed, battery percentage, distance traveled, and power mode. When upgrading from bike to e-bike, a good display turns your handlebar into a smart dashboard — helping you monitor your ride like a pro.
- Throttle: A throttle provides instant motor engagement, allowing you to accelerate effortlessly from a full stop or conquer steep climbs. It’s a signature upgrade when going from bike to e-bike, but use it wisely — balance throttle use with pedal assist to preserve battery life.
- PAS (Pedal Assist) Sensor: One of the most transformative features when going from bike to e-bike. This sensor detects your pedaling motion and automatically adjusts motor support, giving you a natural, intuitive riding feel. It’s also essential for staying compliant with most e-bike regulations.
- Braking Sensors and Lighting: For a complete from bike to e-bike setup, consider brake sensors that cut power when braking, and integrated LED lighting for night visibility and safety.
As you refine your from bike to e-bike project, think of these upgrades as building blocks for customization. Whether you want a smart commuting solution or an off-road powerhouse, these components let you control how your e-bike behaves and performs.
For deeper insights on professional-grade upgrades and advanced systems, explore
Grin Technologies’ e-bike learning center or
Bosch eBike product lineup — both excellent resources for anyone taking their ride from bike to e-bike.
💡 Step 4: Safety and Legal Considerations
When moving from bike to e-bike, it’s crucial to remember that you’re not just upgrading your ride — you’re entering a new category of personal transportation. E-bikes can reach higher speeds and handle more power than regular bicycles, so understanding the safety and legal aspects of your conversion is key to riding responsibly and staying compliant with local regulations.
The transition from bike to e-bike adds excitement and performance, but it also brings responsibility. Every country and even city may have slightly different laws defining what qualifies as an e-bike — and exceeding those limits can reclassify your vehicle as a motorbike, requiring registration, insurance, or a license. Before your first ride, always check your regional e-bike laws to make sure your build is fully legal and road-ready.
- Helmet: A helmet is non-negotiable when going from bike to e-bike. The added speed and torque demand better protection. Choose a certified e-bike or mountain bike helmet with proper ventilation and impact resistance.
- Speed Limit: In most regions, e-bikes are limited to 25 km/h (15.5 mph) in pedal-assist mode and 45 km/h (28 mph) for speed pedelecs. When you convert from bike to e-bike, make sure your controller or display settings respect these caps to remain street-legal.
- Brakes: Power requires precision. If your motor exceeds 500W, upgrading to mechanical or hydraulic disc brakes is strongly recommended. This ensures your from bike to e-bike conversion can stop safely, even on steep descents or in wet weather.
- Lighting & Reflectors: Visibility saves lives. Install high-quality LED headlights, tail lights, and wheel reflectors. When upgrading from bike to e-bike, consider lights powered directly from the main battery for convenience and consistent brightness.
- Electrical Safety: Inspect all wiring, connectors, and insulation before riding. Secure cables tightly and avoid loose connections — especially in rainy or humid conditions. A safe from bike to e-bike build starts with attention to detail.
Safety doesn’t end with installation. Regularly inspect bolts, brake pads, and connectors. Charge your battery in a fire-safe area, and never leave it unattended overnight. The more power your system has, the more it deserves disciplined maintenance.
To stay up to date with international e-bike standards and safety practices, check reliable sources such as
U.S. Department of Transportation,
EU Urban Mobility & E-Bike Regulations, or
Grin Technologies’ e-bike learning center. These resources will help you ensure that your journey from bike to e-bike is both safe and compliant.
💸 Cost Breakdown (Budget Build)
One of the biggest advantages of going from bike to e-bike is the cost efficiency. Instead of spending $1,000–$3,000 on a new electric bike, you can transform your existing bicycle into a powerful e-ride for a fraction of that price. The conversion process lets you control every expense — from the motor and battery to the smallest cable tie — making the journey from bike to e-bike not just fun but financially smart.
Let’s take a closer look at a realistic budget setup for those who want to convert from bike to e-bike without overspending. This table outlines the average costs of essential components in a do-it-yourself conversion kit:
| Component | Estimated Cost (USD) |
|---|---|
| Rear Hub Motor Kit | $120–$180 |
| 36V 10Ah Battery | $90–$150 |
| Controller & Display | Included in kit |
| Extras (lights, wiring, zip ties) | $20 |
| Total Estimated Investment | $230–$350 |
This modest budget proves that moving from bike to e-bike doesn’t have to break the bank. With as little as $250, you can enjoy faster commutes, easier hill climbs, and a greener mode of transportation — all while keeping your favorite bicycle frame. For comparison, most entry-level factory e-bikes start around $1,000, making DIY conversion a cost-effective alternative for eco-conscious riders.
When planning your from bike to e-bike build, it’s also worth factoring in optional upgrades like hydraulic brakes ($50–$100), a more powerful battery ($150+), or smart displays with Bluetooth connectivity ($40–$80). These aren’t essential, but they can enhance your comfort, performance, and safety.
Additionally, buying from reputable brands or certified suppliers ensures your components last longer and perform efficiently. Trusted sources such as
Grin Technologies and
Bafang offer quality conversion kits that make your journey from bike to e-bike smooth, reliable, and future-proof.
Ultimately, the value of going from bike to e-bike isn’t just about saving money — it’s about empowerment. You’re not just buying an e-bike; you’re building one with your own hands, learning how it works, and personalizing it to your lifestyle. That kind of satisfaction is truly priceless.
🎥 Watch: Step-by-step guide on how to convert your regular bicycle into a high-performance e‑bike, including motor installation, battery setup, and final testing.
🌟 Final Tips & Takeaway
Transitioning from bike to e-bike is more than just installing a motor and battery — it’s about creating a reliable, enjoyable, and safe electric ride. By paying attention to small but crucial details, you can ensure that your DIY conversion delivers the best performance and longevity. Here are essential tips to keep in mind:
- Battery & BMS Protection: Always choose a battery with a reliable Battery Management System and waterproof connectors. When moving from bike to e-bike, this ensures safe charging, prevents over-discharge, and protects against short circuits, extending battery life.
- Motor & Frame Compatibility: Double-check that your motor wheel fits your bike’s dropout spacing and frame type. A mismatch can lead to poor handling or damage. Proper alignment is key to a smooth from bike to e-bike experience.
- Initial Testing: After assembly, take a short, controlled ride to test motor response, braking, and pedal assist. This step ensures your transition from bike to e-bike is successful before you tackle longer routes or higher speeds.
- Regular Maintenance: E-bikes are heavier and faster than traditional bikes, so maintain tire pressure, check brakes frequently, and inspect cables and connectors. Keeping your build in top shape ensures your from bike to e-bike journey remains safe and enjoyable for years.
- Customization & Upgrades: As you get comfortable with your e-bike, consider upgrading components like displays, lighting, or suspension. Each upgrade enhances your ride quality and allows your from bike to e-bike build to evolve with your needs.
“You don’t need a $2,000 e-bike to experience electric freedom. By converting from bike to e-bike with smart choices and simple tools, you can create a high-performance electric ride for under $300 — and enjoy the pride of building it yourself.”
Remember, going from bike to e-bike isn’t just about speed — it’s about empowerment, sustainability, and the joy of effortless riding. Every hill becomes an opportunity, every commute feels lighter, and every ride is an accomplishment you built yourself.
❓ Frequently Asked Questions (FAQ) about Converting from Bike to E-Bike
What does it mean to go from bike to e-bike?
Can any bike be converted into an e-bike?
Which motor type is best for a DIY conversion?
What battery should I choose when converting from bike to e-bike?
How long does installation take for a bike-to-e-bike conversion?
What additional components are recommended?
Is it legal to convert my bike to an e-bike?
How much does a typical bike-to-e-bike conversion cost?
How do I maintain a converted e-bike?
What are the benefits of converting from bike to e-bike?

Your article helped me a lot, is there any more related content? Thanks! https://accounts.binance.info/ES_la/register-person?ref=VDVEQ78S
I don’t think the title of your enticle matches the content lol. Just kidding, mainly because I had some doubts after reading the enticle.
Can you be more specific about the content of your article? After reading it, I still have some doubts. Hope you can help me. https://accounts.binance.com/tr/register-person?ref=MST5ZREF
Your point of view caught my eye and was very interesting. Thanks. I have a question for you. https://www.binance.info/es/register?ref=RQUR4BEO
Just browsed Jimk, looking good. The site is well designed and easy to use, its great for newbies. Definitely worth checking out jimk cause you never know.